A Guide to Gig Ticket Printing That Works
Will Townsend
·
It is easy to lose track of time—and budget—chasing a "professional look" for your physical tickets. We know the feeling well. You want everything to be perfect, but you also need it to be practical.
Here is a friendly guide to navigating the physical side of ticketing, so you can get it right the first time without the stress.
Why Bother With Physical Tickets Anymore?
In a digital world, there is still something special about a physical ticket. It creates a keepsake. It flies onto corkboards and fridges. It reminds fans of your show long after the encore keeps ringing in their ears.
But printing them can feel like a bit of a logistical puzzle. Print too many, and you use up budget you could have spent elsewhere. Print too few, and you might miss out on door sales.
Here is how to plan your print run smoothly.
Planning Your Print Run
The first step is looking at the numbers. Your venue capacity is your hard ceiling, and your sales forecast is your guide.
It is natural to be optimistic when planning an event. We often see organizers hoping for 50 attendees but printing 100 tickets "just in case." While the enthusiasm is great, that extra 50% is often budget that could be better spent on marketing or artist fees.
A Helpful Rule of Thumb: Try printing 10% to 15% more than your break-even point. If you need to sell 100 tickets to cover costs, print 115. That buffer is usually perfect to cover comps, a few mistakes, and those lovely last-minute door sales.
If you need a hand calculating that break-even point, checking out our simple guide to budgeting for an event on ticketsmith.co is a great place to start.
Designing Tickets People Can Actually Use
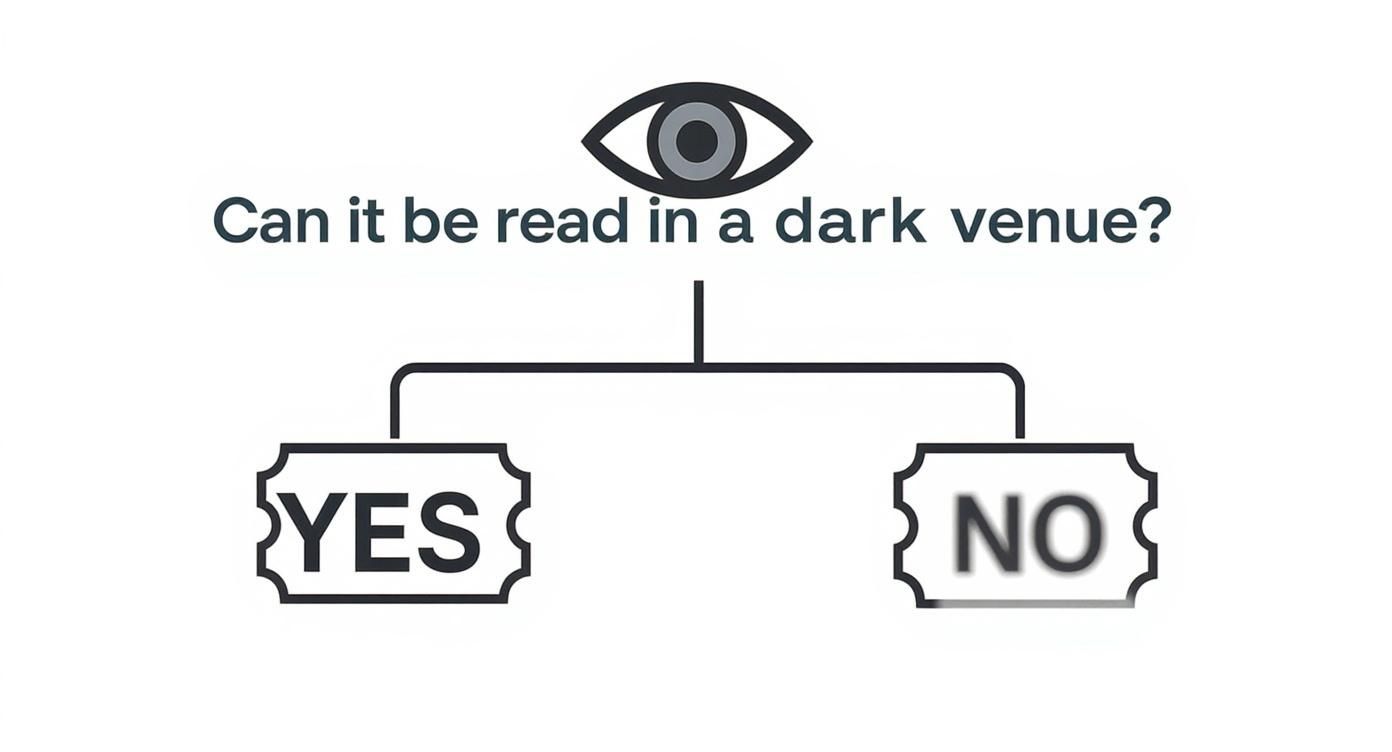
Design isn't just about making things look beautiful; it's about making sure they work well for your team. You want your door staff to be able to read the date instantly, even in a dimly lit hallway.
Clarity is usually the most important thing. We recommend using a font that is big, bold, and easy to read.
The Essentials
To keep things running smoothly at the door, every ticket should include these five items:
Event Name
Date and Time
Venue Name and Address
Price (optional, but often helpful for guests)
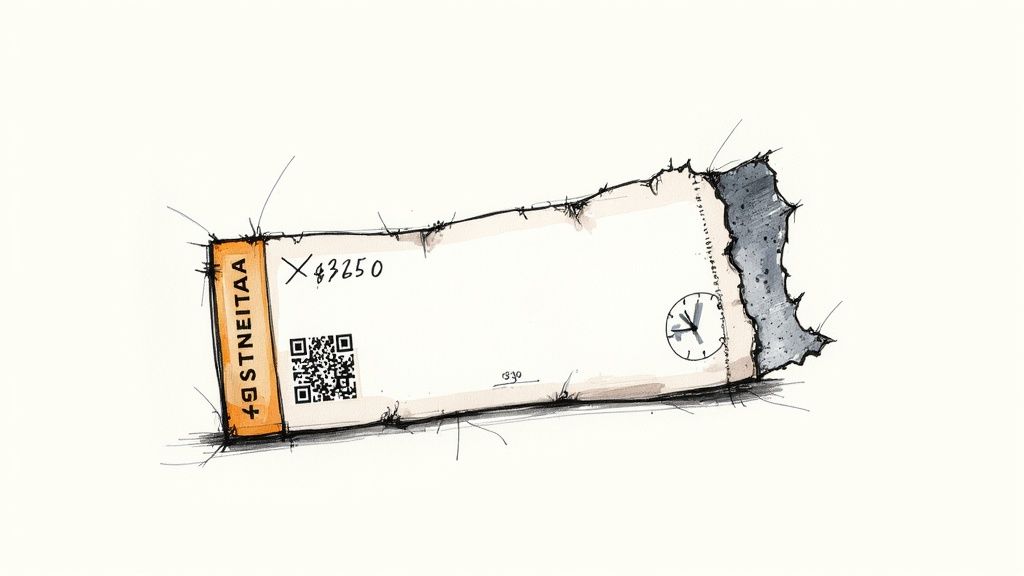
A Unique Identifier
That last one is really important. Sequential numbers or unique QR codes help prevent fraud. Without them, it is surprisingly easy for someone to duplicate a ticket. You can learn more about your options in our guide to different types of tickets.
Getting Technical (Without the Headache)
If you are working with a professional printer, they might ask for Bleed and 300 DPI. Here is what that means in plain English:
Bleed: This just means extending your artwork about 1/8th of an inch past the edge. It ensures that when the printer cuts the paper, you aren't left with any thin white edges.
300 DPI: This ensures your text looks crisp and sharp. If you print a standard web image (which is usually 72 DPI), it can look a bit pixelated on paper.
Choosing Your Printing Method
There are three main ways to get this done. The best choice really depends on your specific event and budget.
1. Printing At Home
Best for: Intimate gatherings under 30 people.
The Reality: This feels like the cheapest option, but it can add up. By the time you buy ink and nice cardstock, the cost per ticket can surprise you. Also, home printers sometimes struggle to print QR codes sharply enough for scanners. We recommend this mostly for very small, informal meetups.
2. The Local Print Shop
Best for: When you need tickets quickly (1–3 days).
The Reality: You might pay a little more for the speed and service, but the upside is wonderful: you can visit the shop and feel the paper samples before you commit. If you are printing 50–200 tickets and need them by Friday, a local shop is a lifesaver.
3. Online Printing Services
Best for: Events with 100+ attendees.
The Reality: For most events, this is the sweet spot. You get professional finishes—like perforations or gloss—at a much lower cost per unit. The only trade-off is time. Lead times can run 5–10 days, so you just need to plan a little further ahead.
Printing Options At a Glance
| Method | Best For | Estimated Cost (200 Tickets) | Pros | Cons |
|---|---|---|---|---|
| At Home | Very small (under 30 people) | $90 - $150 | Immediate results. Full control. | Can look DIY. Ink is pricey. Scanning issues. |
| Local Shop | Fast turnaround (1-3 days) | $150 - $250 | High quality. Friendly expert help. | Higher cost per ticket. Limited paper options. |
| Online | Most events (100+ attendees) | $70 - $120 | Professional quality. Low cost per ticket. | Wait times (5–10 days). No in-person support. |
If you are wondering how to manage these sales, our guide to the best way to sell tickets online and in person covers the basics.
The Details That Prevent Door Disasters

The difference between a ticket that feels "okay" and one that feels professional often comes down to the paper.
Paper Weight: Standard copy paper (20lb) tends to be a bit flimsy. We suggest aiming for Cardstock (100lb to 14pt). It survives being tucked into a back pocket and feels much more substantial in the hand.
Finish: Glossy paper looks lovely, but it can reflect light under bright venue lamps, which makes QR codes hard to scan. Matte finish is usually the safer, more practical bet. It hides fingerprints and scans instantly.
Perforations and Security
A satisfying ticket tear is all about the perforation. If you are designing your own, create a layer in your file named "PERFORATION - DO NOT PRINT" and draw a dashed line exactly where you want the tear. This helps the printer understand exactly what you need.
For security, you don't need expensive holograms. A simple, unique sequential number on each ticket stops lazy fakes. Even better, use a QR code linked to a digital list. This gives you a single source of truth—keeping your online sales and printed batches all in one place.
How Ticketsmith Fits In
We started Ticketsmith because we know that managing spreadsheets to track ticket numbers isn't fun.
Ticketsmith helps you generate unique QR codes for every ticket automatically. You can set up an event page in minutes, add your logo, and track both your online and printed sales in one simple dashboard.
We use flat fee pricing because we want you to keep more of what you earn. If you are looking for a tool that is simple, friendly, and affordable, we’d love for you to join the waitlist at ticketsmith.co.
Common Gig Ticket Printing Questions
How many extra tickets should I print?
We recommend aiming for 10% to 15% more than your venue capacity. So, for a 100-capacity show, ordering 115 tickets gives you a comfortable buffer for mistakes, comps, and door sales.
What is the most affordable way to make secure tickets?
You can skip the special inks and foils. Printing a unique sequential number or QR code on every ticket is highly effective. It’s nearly impossible to fake and works with almost any free scanning app.
Can I design my tickets in Canva?
Absolutely! Just remember to export it correctly. Look for the "PDF Print" option when you download. This saves the file at high quality (300 DPI) and handles the bleeding, ensuring your tickets look crisp and professional.
Juggling these details is exactly why we built Ticketsmith. We want to help you set up a beautiful event page, sell tickets transparently, and manage everything in one place. If you'd like to simplify your next event, join the waitlist at ticketsmith.co.
Join the waitlist
Be the first to know when Ticketsmith launches. Get exclusive access and early-bird pricing.
Written by
Will Townsend
Founder, Ticketsmith
Writes practical guides on event ticketing, pricing, and promotion for independent organizers.