 Will Townsend
Execution & Operations
Event operations rarely go exactly to plan, which is why ownership matters more than a perfect schedule. Decide beforehand who handles check-in, sound, attendee updates, and the other jobs that become urgent once people arrive. If Pat owns the door and Sam owns the mic, neither task has to be negotiated while a queue is forming.
Write those decisions into a run-of-show and keep a printed backup nearby. It helps a solo organizer remember what comes next, and it gives a larger team somewhere to look before asking another question. As the crowd grows, so does the cost of a missed handoff: a short delay becomes a long queue, and forget one sign and you’ll explain the route 50 times.

Day-of operations work best when check-in, backups, signs, and team roles are visible before anyone asks.
The Day-Of Document
Put timings, owners, and handoffs on one page. A volunteer should be able to look at it and answer three questions: what happens now, who owns it, and what happens if it slips? Whatever you call the document, print it and share it the day before. Loopyah's logistics overview has a longer version for events with more moving parts.
- Segment by time block with owners and outcomes. Write “6:30 Welcome (2 min) - Owner: Host - Outcome: Everyone knows the promise and tone.”
- Include buffers because sessions run long, people take time to move, and technical changes rarely happen instantly.
- Share the ROS with your team and vendors the day before so questions can be resolved before everybody is standing in the room.
Mini ROS example (works for a workshop, a meetup, or a small stage):
When the plan is this visible, you can hand it to a volunteer and they suddenly know what “success” looks like for their role.
Check-In Without a Bottleneck
Check-in shapes the first few minutes of the event, and a slow queue can make an otherwise prepared room feel disorganized. Keep a second route into the guest list so the door does not depend on one phone, one scanner, or one patch of reliable reception.
-
Flow: Greet → scan QR or name lookup → hand stamp/name tag → direct to seats. If a line starts forming, open a second station or move the name tags away from the scanner.
-
Backup: Keep a manual list or live dashboard for edge cases, plus a printed list in a readable size for the moment when a phone dies or a QR code refuses to load.
-
Accessibility: Walk the route from curb to seat. Check the doorway, step-free entrance, accessible restroom, seating choices, sign size, hearing and visual access, and where someone can sit away from the speakers. Publish a contact for accommodation requests and include disabled attendees in the evacuation plan. This is a venue walk-through, not a line that says “accessible” and hopes for the best.
-
Online: Start the room 10 minutes early, confirm the audio, and post any useful etiquette in chat. If you promised a recording, get consent, state who can access it, and send it on the timeline you gave attendees.
The Oh Sh*t Kit
Call the gear bag whatever makes you remember it—Oh Sh*t Kit works—and pack it the night before, rather than while somebody is already asking where the tape went.
- Basic survival: Badge printer or markers, name tags, scissors, tape (gaffer, not duct), wet wipes, tissues, water, snacks, first‑aid kit.
- A/V life support: Extra HDMI cable, every adapter you own (USB‑C, Lightning, VGA - yes, VGA), spare mic batteries, two extension cords, and if you can swing it, a spare laptop already logged into everything.
No‑Shows, Waitlists, and Refunds
Keep the policy clear enough to use with some kindness when a child gets sick, a bus breaks down, or somebody simply cannot make the evening work.
-
Transfers > Refunds: Offer to move their ticket to a friend or a future event. It keeps the revenue and the goodwill.
-
Waitlist releases: If you are sold out, a release around T‑24 gives people time to plan, while a final release near T‑2 may fill a late gap. Neither guarantees attendance, so do not count a waitlist name as a body in the room.
-
Clear policy example: “Full refund up to 48 hours before. After that, transfers only.” Use this only where it fits your event and local rules. Post the final policy on the checkout page, not buried in a PDF.
For waitlist setup, see Ticketing & Sales.
A One-Page Incident Plan
Keep the incident plan to one page: “If X, then Y.” Notice the problem, name one owner, and write down what changed afterward. Momentus has the enterprise version; the list below is short enough to use while guests are still in the room.
-
A/V hiccup: Switch to the backup mic or laptop, move to an interactive segment if needed, and use the break to fix the main setup.
-
Late vendor/speaker: Adjust timeline, announce transparently (“We’re starting with Q&A while our speaker wraps up”), offer a quick alternative activity.
-
Weather (for outdoor events): Activate the indoor or cancellation plan. Notify buyers through the channels they agreed to receive, and put the same update on the event page.
-
Medical emergency: Call emergency services, send one person to meet them at the entrance, and clear the immediate area as calmly as the situation allows.
-
Disruptive attendee: Pause and de-escalate if it is safe. Use trained venue security or emergency services when there is a threat; do not physically remove somebody unless you are trained and authorized to do it.
-
Log it: After the event, note what happened, who needs the record, and what changed. Store sensitive details somewhere appropriate—not in the volunteer group chat.
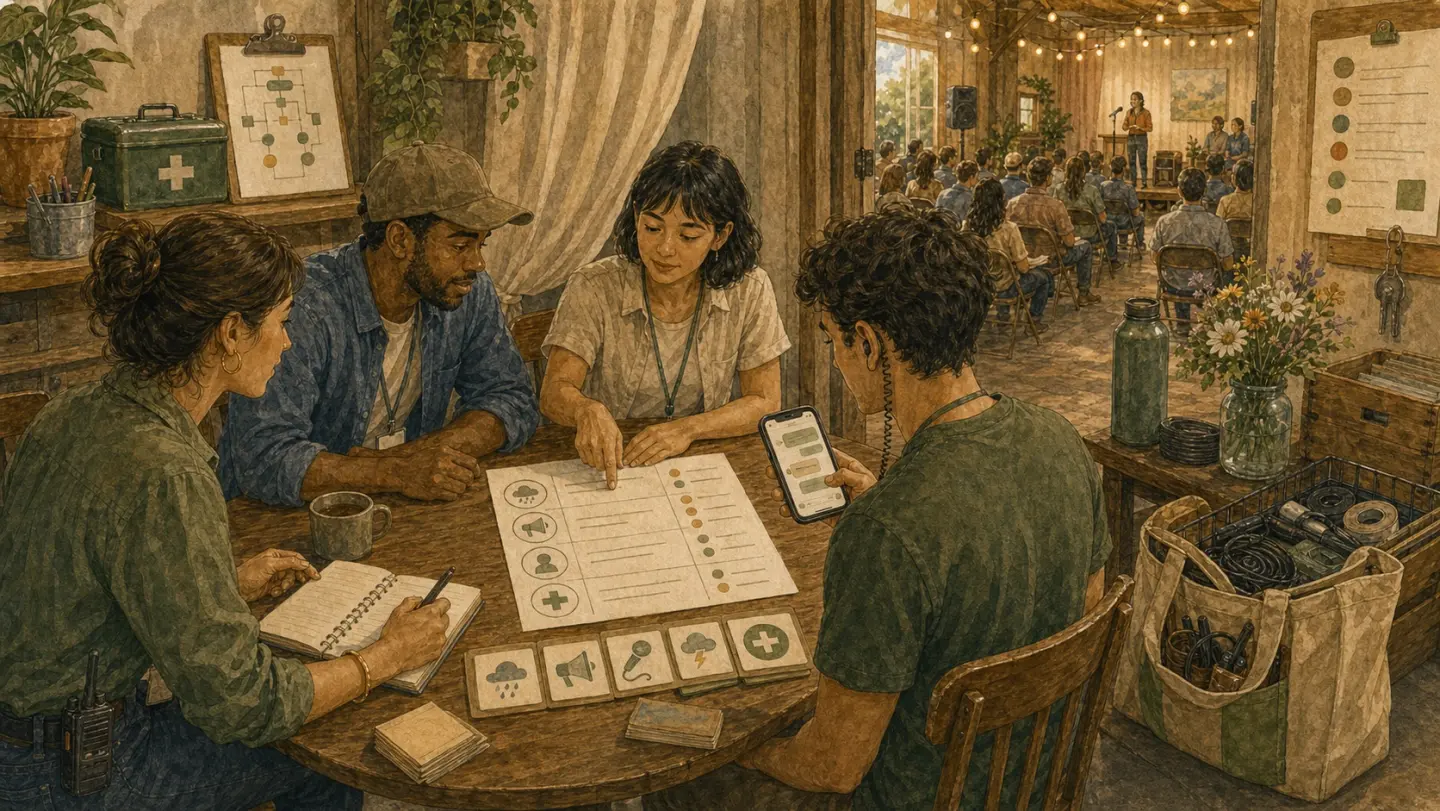
A short playbook gives the team options before a small problem becomes the whole event.
One Team Thread
Use one thread and decide who sends the uncomfortable message before anyone needs it.
-
Pre‑event: One message thread (SMS, Slack, WhatsApp - whatever). Share the ROS and roles the day before. No “just checking in” messages the morning of.
-
During: Use short, plain messages: “Switch to backup audio” or “Start five minutes late.” Clever codes are not useful if the newest volunteer has to decode them under pressure.
-
Post-event: Write down the first thing that almost broke, then use the full 10-minute debrief in Post-Event Wrap-Up.
Draft the cancellation text, room-change text, and “we’re delayed 10 minutes” text before doors open. blog.ivvy.com has the larger crisis-comms template; for a small event, the win is that nobody writes the scary message from scratch.
Final Scan Before Doors
Run through this with your morning coffee. It catches the thing you would otherwise remember in the car.
- [ ] ROS printed/shared with owners
- [ ] Roles and backups assigned (who’s the speaker backup? Who’s the tech backup?)
- [ ] Check‑in flow tested on site (walk it)
- [ ] Accessibility route, restroom, seating, communication, and accommodation contact checked
- [ ] Incident playbook ready (one page, shared)
- [ ] Oh Sh*t Kit packed and labeled
- [ ] Team comms set (thread created, everyone’s in it)
- [ ] Waitlist release schedule set (if sold out)
When the room is empty, write down the first thing that almost broke. Take that note into Post‑Event Wrap‑Up before the details blur.
Join the waitlist
Be the first to know when Ticketsmith launches.
Written by
Will Townsend
Founder, Ticketsmith
Writes practical guides on event ticketing, pricing, and promotion for independent organizers.