 Will Townsend
Getting Started
Before you buy software or book a room, find out whether the idea survives contact with a price and a date. You need a promise people understand, a budget you can survive, and eventually a checkout link that works on a phone.
For Shoestring Planners: Keep the first run cheap enough that a quiet room will not hurt for months. Ten seats in a borrowed room may teach you more than 40 seats tied to a nervous venue deposit.
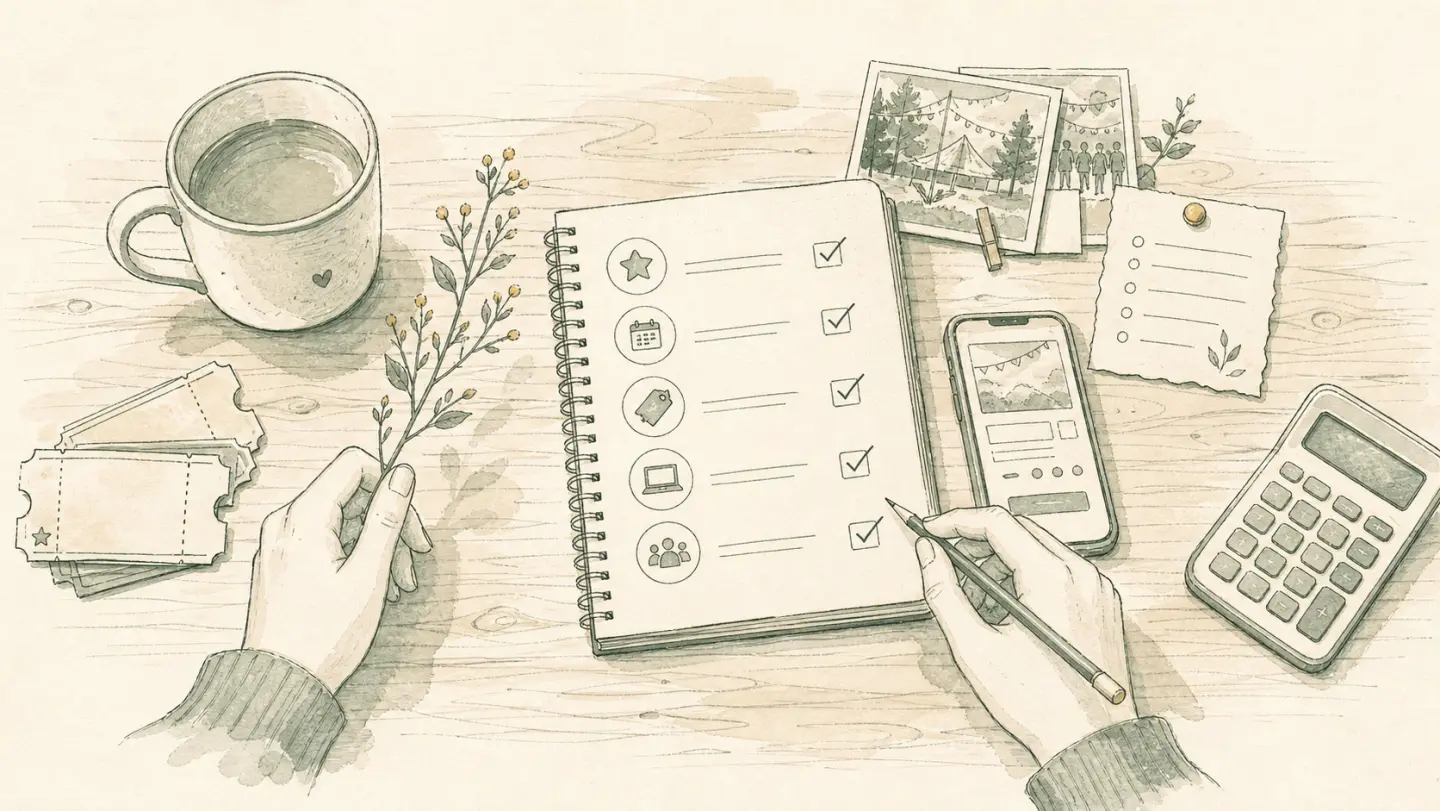
Keep the first launch small: promise, date, price, checkout, and a handful of direct invites.
The 7‑Day 0→1 Plan
If the event is simple enough to launch in a week, the plan below keeps the work to the decisions that actually need making.
- Day 1 - Promise + Format: Choose IRL, online, or hybrid, then settle on one price and a specific promise such as: “In 90 minutes, you’ll craft your first zine, even if you’ve never drawn before.”
- Day 2 - Validate: DM 10 people who match your audience. Ask: “Would you pay $X for this on [date]?” Log the replies, including the awkward silences. You are checking for demand, not collecting compliments.
- Day 3 - Page: Write a small sales page with the headline, intended audience, what is included, time and place, price, refund policy, and a clear way to buy. This is the first place many buyers meet the event, so use the words you would use when inviting them yourself.
- Day 4 - Ticketing: Once the venue basics are viable, open a small paid batch with a clear refund policy and seat cap, then test the purchase flow on mobile and confirm when payouts arrive.
- Day 5 - Outreach: Email your list or friends. Post one helpful tip related to your event, then point to the buy link.
- Day 6 - Partners: Ask two aligned creators or venues to share a short blurb with your link, offering a comp or code where appropriate. Two relevant shares may do more than another post from you.
- Day 7 - Lock Logistics: Confirm the space and technical setup, draft the run-of-show, and send buyers their reminder.
Related guides: Marketing & Promotion, Ticketing & Sales, Planning Your Event.
Validate the Idea
Validation happens in stages: first check whether the right people understand the idea, then put a price and date beside it. Take money only when the venue, capacity, and cancellation basics are settled enough to explain honestly.
- Talk to real humans. Start with 10 direct messages rather than 1,000 cold impressions. Try: “Hey, I’m thinking of hosting a beginner’s pottery session for $35 next Saturday. Sound like something you’d join?”
- Survey: 5 questions max in Google Forms. Add “Would you pay $X?” to gauge real intent, plus open-ended spots for “What would make this a must-attend?”
- Paid test: Once you can state the date, location, capacity, and refund terms, list five early seats. A sale is a stronger signal than a survey tick. Five sales are stronger again.
For Indie Producers: Validation can be a mood board plus a short interest list. If people ask “When is this?” you’re close - use that energy to refine and launch.
Lightweight Legal
Start small, but get three answers before you sell: what the venue requires, whether food, alcohol, or amplified sound needs approval, and what happens if the room closes.
- Business setup: The right structure depends on where you live and what you are running. Once the first paid event is real, consider a separate business account; at minimum, keep ticket revenue and supplies out of your grocery account.
- Permits/insurance: Email the venue and relevant local office: “Do I need a permit or certificate of insurance for a paid event with [seat count], [food/alcohol], [minors], and [sound]?” Save the answer. Ask who owns fire capacity and accessibility compliance too.
- Taxes: Log ticket revenue, platform fees, refunds, and supplies the same day money moves.
- Disclaimer: This is not legal or tax advice. If public space, alcohol, staff, or serious money enters the picture, pay a qualified professional for your facts.
Budget Sanity Check
A first-event budget can fit on a napkin. Write down the money that will leave your account, including the easy-to-forget bits: payment fees, parking, tape, last-minute printing, and your own prep time.
For example, $80 of supplies and $20 of promotion for 10 seats gives you a $10 cash-cost floor per seat, before card fees, tax, refunds, or your labour. A $25 ticket creates some room for those costs, but you still need to calculate how much—preferably after adding the expense you remembered on the bus home.
Use (costs / seats) + buffer as the minimum, then ask whether that price pays enough for the work. Try to cover the cash costs before the room is full; needing every seat to sell leaves no room for a slow week or a refund.
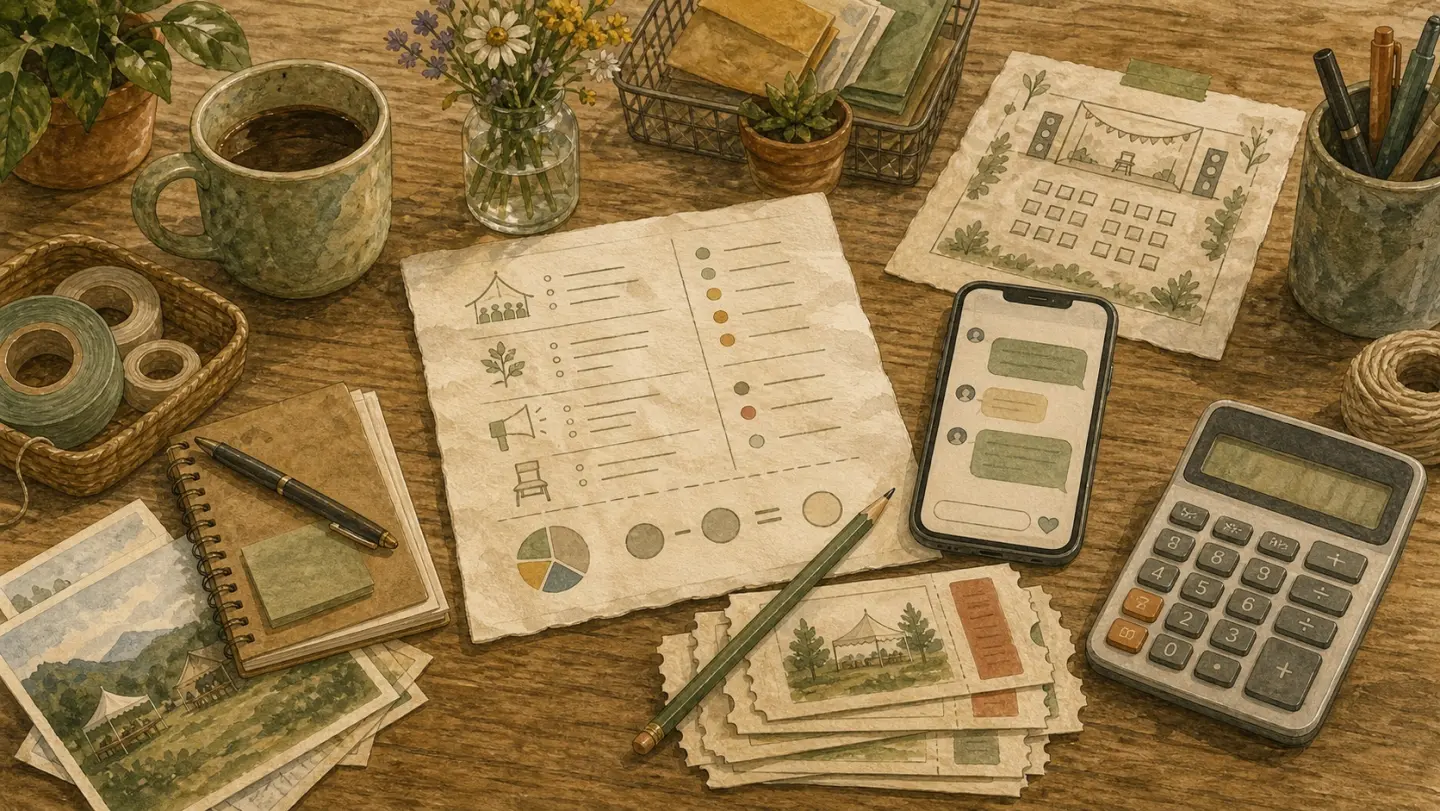
Validate the idea before spending, then price from the few numbers that actually matter.
Budget prompts (copy/paste and fill in to see your path to profitability):
- Venue/Platform: $__ • Materials: $__ • Promo: $__ • Food/Drinks: $__ • Buffer: $__
- Seats: __ • Price: $__ • Breakeven seats: __ • Target margin: __%
If you prefer to start from a template, Eventbrite offers one for tracking event costs and revenue. Workshop Butler's pricing checklist goes further by working backward from annual income and an hourly rate, which is useful once the event needs to provide more than occasional side income.
Tool Stack
For a first event, Google Forms, Canva, an email list, a ticket page, and one folder for your files are plenty. Add software when the same manual job has annoyed you twice.
- Surveys: Google Forms.
- Design: Canva.
- Email: Any email service you will actually use and can afford at your list size.
- Ticketing: Fees you can calculate, a clear buyer price, an exportable guest list, and payout timing that matches your bills. If you need code to launch, it is too complex for day one.
- Files: Keep templates in Drive/Notion. Name them by event and date so future you can find them.
Quick Picks
Stuck on decisions? These are starting guesses, not industry rules. Adjust for your currency, city, materials, audience, and venue.
- Price: Try $15–$35 for a low-cost workshop or meetup; $45–$75 may fit a small experience with materials or specialist teaching.
- Seat cap: Try 10–20 for an online session or small room. A full 12-seat room will teach you more than a half-empty room set for 30.
- Refund policy: “Full refund up to 48 hours before start; transfers allowed after that” can be a workable draft where local rules permit it. Check your obligations before publishing it.
Pricing strategies: Competitor caveat, but useful: use Eventbrite Australia’s pricing guide to test one question - are you charging for the seat, the materials, or the outcome? Then read Eventbrite’s strategy overview after the first 10 tickets tell you what buyers will actually pay. Do not copy another event’s tiers before your own math works.
Keep the First Risk Small
The first event does not need to carry every possible risk. A few early limits can make a quiet sales week manageable rather than expensive.
- Pre‑sell a small batch to validate demand before committing to a larger venue or bigger supply order.
- Keep fixed costs low; borrow or barter before buying so one weak turnout does not sink the whole idea.
- Publish arrival time, start time, end time, and what to bring to reduce support questions.
Before You Move On
Do not treat one enthusiastic reply as proof. Look for a pattern in which several people understand the offer, the practical constraints check out, and a small paid batch begins to move. Interest helps you shape the idea; payment tells you more clearly whether the offer works.
Pick the next guide by the thing blocking the sale:
- Need the room and run-of-show figured out? Planning Your Event
- Need buyers? Marketing & Promotion
- Need pricing or checkout tighter? Ticketing & Sales
Join the waitlist
Be the first to know when Ticketsmith launches.
Written by
Will Townsend
Founder, Ticketsmith
Writes practical guides on event ticketing, pricing, and promotion for independent organizers.