 Will Townsend
Planning Your Event
Event planning expands surprisingly quickly. A simple workshop can become six browser tabs, three spreadsheets, and a late-night question about whether the room has enough chairs. Before opening another document, settle the basic shape of the event: where it happens, what people will do, and who handles the parts most likely to go wrong.
The first version may be you, Zoom, and a borrowed ring light, and nine people can be enough. In a physical room, resist packing every minute; a single 40-minute exercise with time to talk can carry a workshop. Hybrid adds another layer, so keep that version plain by streaming the main session and giving the in-person room most of your attention.
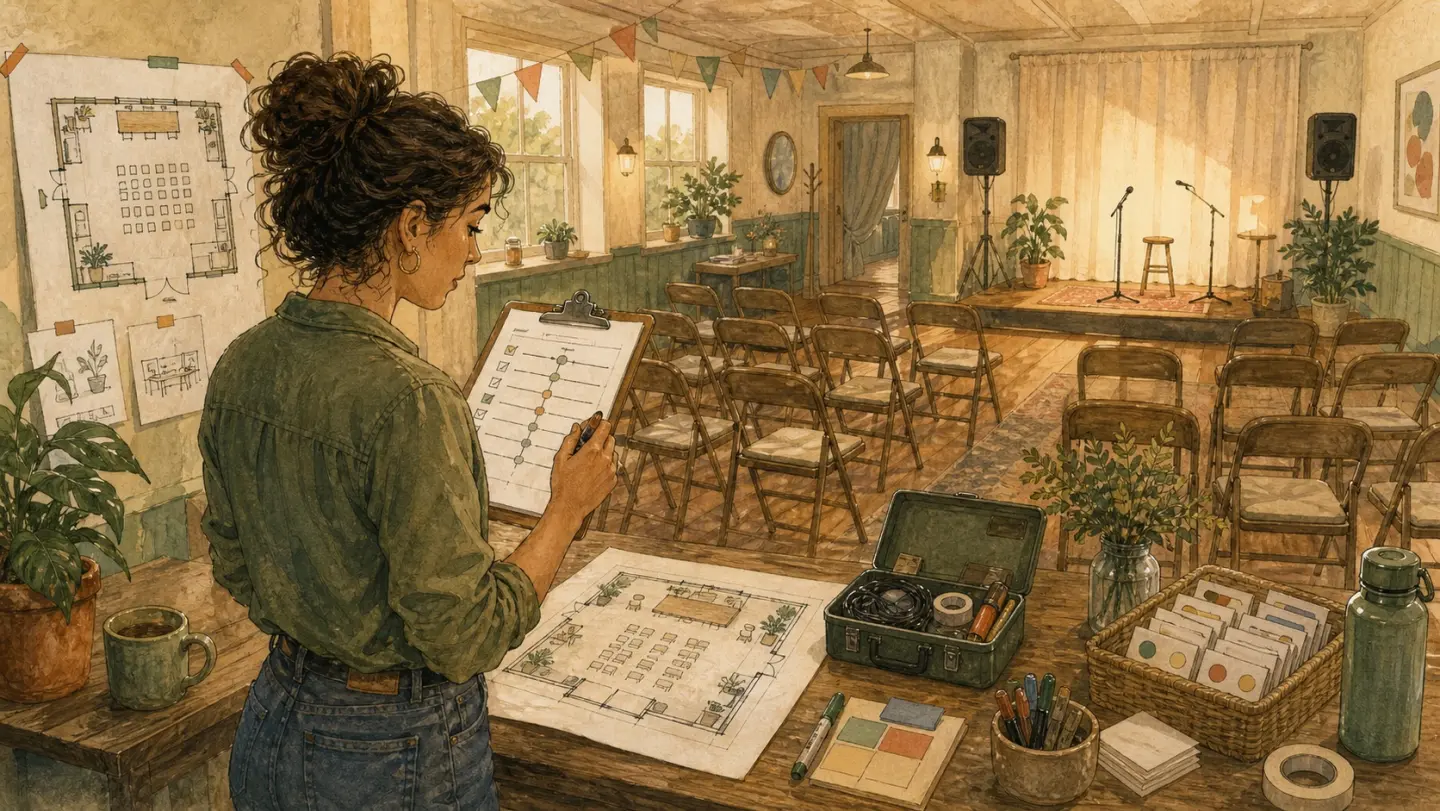
Planning gets easier when the room, roles, and run-of-show are visible before anyone arrives.
What Are They Showing Up For?
Start with the basics: where does it happen, and what do people actually walk away with? Format means IRL, online, or hybrid. Your promise is the sentence you use to reject extra ideas.
-
IRL, online, or hybrid - pick the one you could run well next week. IRL needs a room and more legwork, while online is cheaper but loses the side conversations. Hybrid brings two audiences and an additional technical problem, so use it only when both groups matter.
-
Promise rough draft: “In X time, you’ll Y, even if Z.” Use the formula once, then rewrite it until it sounds like something you would say. For example:
Bad: “A creative evening for beginners.” Better: “In 90 minutes, make a two-color risograph card you can mail tomorrow, even if your last art class was in grade school.” Better: “In two hours, meet six local game devs and leave with one playtest booked, even if networking makes you want to hide near the snacks.”
Test yours on a friend. If it could describe 40 events, make it smaller. If they ask, “Wait, how?” you've got it.
If the promise is to help six game developers book a playtest, the event probably does not also need a panel, a DJ, and branded tote bags.
Pick a Planning Speed
The two timelines below are starting points. Choose the one that fits the number of dependencies, then put the dates in your calendar before the event becomes a floating idea again.
4‑Week Runway
Useful for a first event or anything with several moving parts. It leaves room for a slow venue reply without swallowing the whole month.
- Week 4: Announce page, invite list, early‑bird opens.
- Week 3: Lock content/materials/agenda; confirm venue/tech and a backup.
- Week 2: Reminder email; materials list; assign roles; test A/V.
- Week 1: Final run‑through; print/share ROS; confirm vendors.
Leave one unassigned hour each week because it will probably get used. A vendor replies late, the flyer has the wrong date, or somebody remembers the dietary requirements after the supply order has been drafted.
10‑Day Sprint
Useful for a simple test with few dependencies. A 10-day live Q&A can teach you more than another month of polishing the outline.
- T‑10: Launch page.
- T‑7: Lock partners.
- T‑3: Reminder blast.
- T‑1: “Last seats” push.
- Day‑of: Send logistics, check the room, run the event.
This schedule compresses everything, so remove the nice-to-haves and protect the few promises you have made. Once people understand the payoff and checkout works cleanly, the page is ready to publish.
Venue & Logistics
Start with rooms people overlook: a library room, a café after closing, a coworking space on a quiet evening.
For Shoestring Planners: A library community room may be free or inexpensive, but check booking rules, insurance, accessibility, and whether paid activity is allowed.
For Ops Captains: Built-in tech saves real setup time, but test the mounted projector anyway; “it worked last week” is not much comfort when the room is already filling.
-
Free/cheap: community rooms, coworking off‑hours, parks (permits!), café back rooms, that one friend's warehouse. Talk to owners. A library room for 20 might cost nothing but still require a reservation form and proof of insurance. Ask before you announce.
-
Checklist (walk the space a week out, trust me):
- Capacity: legal occupancy covers your ticket cap, team, speakers, and comps.
- Seating: appropriate for the length and activity.
- Accessibility: step-free route, accessible restroom and seating, readable signs, and a contact for accommodation requests.
- Sound: test speech from the back row; add a mic when the room needs it.
- Light: natural is nice, adjustable is nicer.
- Restrooms: clean, nearby, labeled.
- Power: count outlets before you need them.
- Wi‑Fi: test the signal under the conditions you will use it.
- Arrival: send transit, parking, entrance, and step-free route details.
- Signage: direct people from the door to your room without a treasure hunt.
kitec.com.hk calls the run‑of‑show a “roadmap”; in practice, that means fewer hallway questions and less improv. Walking the venue is how you catch the dead outlet, missing sign, and no-one-knows-where-to-stand moment before they become the event.
-
Backup kit: extension cords, power strips, tape, markers, extra pens, name tags, a phone charger you're willing to lose. Call this the “Oh Sh*t Kit.” It lives in your backpack for the day venue Wi‑Fi dies and you need to tether off your phone.
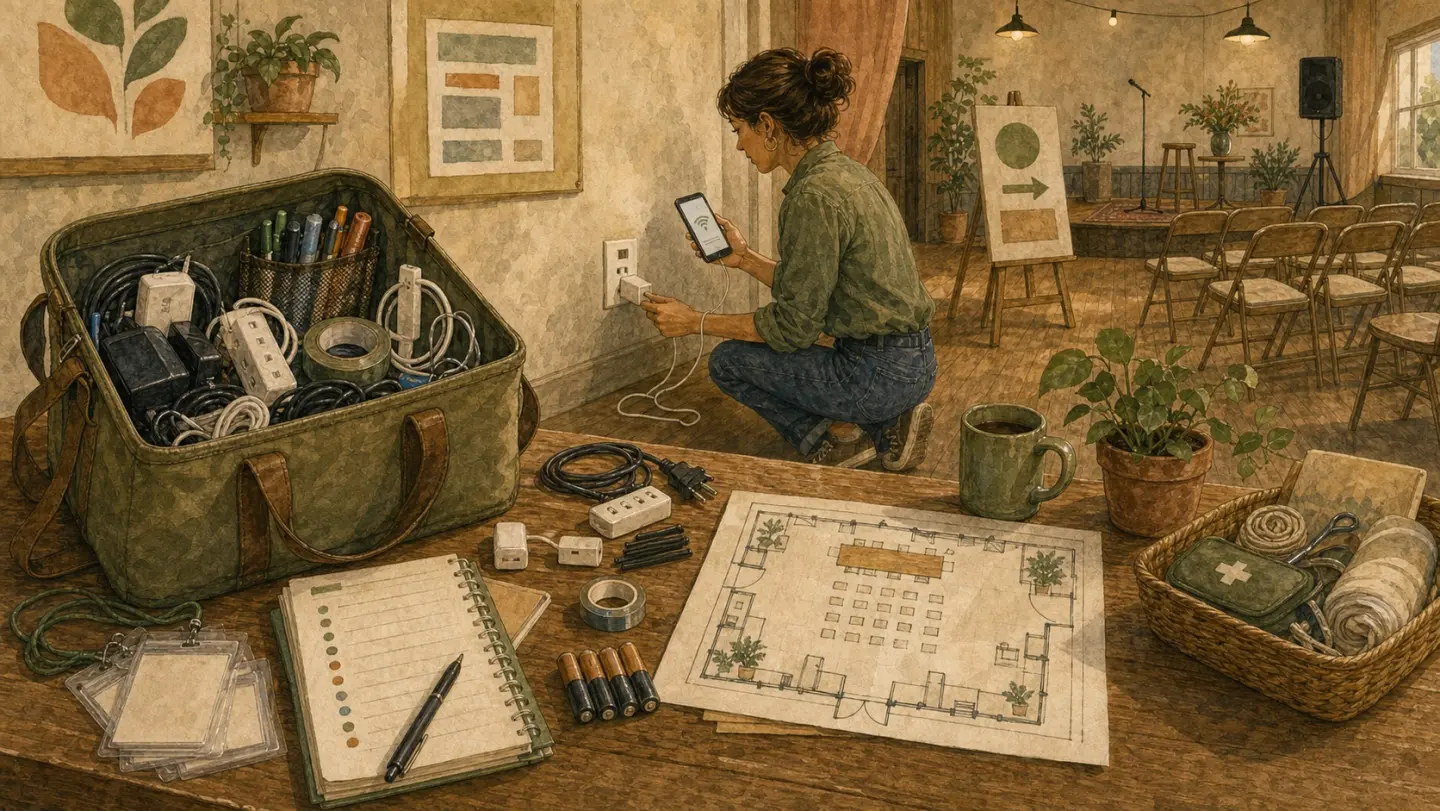
The tiny walkthrough saves the big scramble: power, Wi-Fi, signs, supplies, and a backup plan.
Tech That Survives the Day
The most dependable setup usually uses tools you already know. If the event is hybrid and your platform supports it, keep separate ticket counts for in-person and online guests.
-
Platform: Zoom or Meet. Test screen sharing and any promised recording. Get recording consent and decide who can access the file before you press the button. Add polls only when you know what you will do with the answer.
-
Audio: A wired mic is usually more dependable than a laptop mic. Ask online attendees to mute by default. Run a dry test from the actual room; an echo is easier to fix before 30 people hear it.
-
Interaction: Plan Q&A, polls, or breakout rooms with a time limit and an owner. For breakout rooms, 8–10 people is a starting guess, not a law. A shy group may need a specific question before the chat starts moving.
An Agenda With Some Give in It
A good agenda gives the room enough structure to stay on time while leaving some room to respond to what is happening.
-
Flow: open → core content → interactive part → close with the next step. Build from the welcome to the main session, then wind down. A simple version might allow 10 minutes for the introduction, 40 for the main session, 10 for questions, and 10 to close; online, shorten the introduction and reach the useful part sooner.
-
Timebox: For a first workshop, 60–120 minutes is a useful starting range. Change the pace when the activity needs longer concentration; do not add a new “beat” every 10 minutes just to make the agenda look busy.
-
Roles (even solo): host, check‑in/mod, support. Write names. Solo? Write “Me: Greet & Facilitate.” It's weirdly calming. For teams: “Tech Lead: Handle glitches” keeps two people from grabbing the same mute button. Your run-of-show should answer the boring hallway questions: who opens the door, who fixes sound, who tells the speaker they're over time.
Run‑of‑Show: Print This Before Doors
Your run-of-show should answer common questions before they reach you, so print or share it the day before and keep a copy somewhere the team can find during the event.
| Time | Segment | Owner | Notes |
|---|---|---|---|
| 6:00 PM | Doors open, check-ins | You/Helper | Greet, name tags, low-key music |
| 6:15 PM | Welcome + icebreaker | You | Share promise, 5-min intros |
| 6:20 PM | Core session/presentation | You/Guest | Main content, demos, or discussion |
| 7:00 PM | Break/Q&A | Helper | Coffee, field questions |
| 7:15 PM | Wrap-up + next steps | You | Key takeaways, tease next event |
| 7:30 PM | Close + optional mingle | All | Thank you, informal networking |
For bigger events: Add 5-minute buffers. For online: Start at “Welcome,” use chat for icebreakers. For festivals: Add sponsor slots - e.g., 7:45 PM partner spotlight - so they feel woven in, not tacked on.
For Ops Captains: Color-code by role (blue = tech checks) and share a day early. It makes ownership obvious at a glance.
Final Planning Checklist
Run through this once, preferably somewhere you can still change the plan. It will catch at least one boring thing that matters.
- [ ] Timeline locked and shared
- [ ] Venue/tech confirmed + backup plan
- [ ] Agenda timed & flow-tested
- [ ] Roles assigned & briefed
- [ ] Materials packed (Oh Sh*t Kit included)
- [ ] Accessibility check: ramps, captions, arrival instructions
- [ ] Promo materials ready (flyers, social)
- [ ] Emergency contacts listed (venue manager, tech support)
- [ ] Weather plan if outdoor (backup indoor spot)
- [ ] Ticket page tested on mobile; payout timing and guest-list export confirmed
Once every box has an owner, the plan is ready to use. Marketing & Promotion covers the work of filling the room, Ticketing & Sales helps match checkout to the format, and Execution & Operations picks up the day-of details.
Join the waitlist
Be the first to know when Ticketsmith launches.
Written by
Will Townsend
Founder, Ticketsmith
Writes practical guides on event ticketing, pricing, and promotion for independent organizers.